
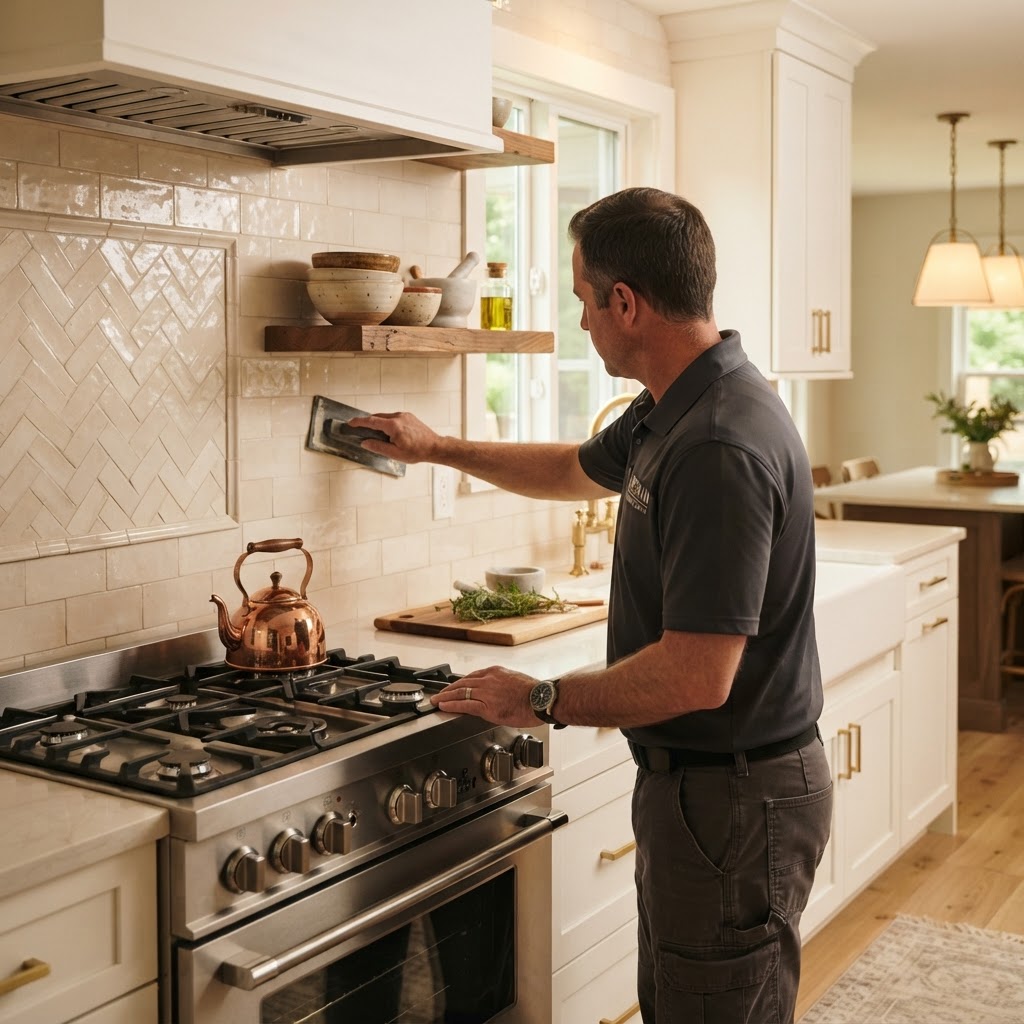
How to Select a Kitchen Backsplash That Lasts
Beyond the Visual: Function Matters
When we plan a kitchen remodel here in Broomfield, Colorado, the backsplash is often treated as the jewelry of the room. While it is true that this area serves as a focal point, it is also the primary shield for your drywall against grease, steam, and food splatters. A backsplash that looks good but cannot handle a scrubbing sponge is a liability. Our approach to projects is built around scope, layout, materials, coordination, and construction sequencing, and the backsplash selection should always fit into that structured plan. If you are currently mapping out your layout, use our kitchen planner to ensure your material choices align with your functional needs.
Understanding Material Performance
Not all materials are created equal. Stone tiles, for instance, offer a high-end look but often require periodic sealing to prevent staining. If you cook daily, porous stone might become a maintenance headache. Conversely, ceramic and porcelain tiles are kiln-fired and generally impervious, making them excellent candidates for high-traffic cooking zones. Glass tile is another common choice, but it can be finicky to cut and install; if not done correctly, you might see the adhesive through the tile, or notice inconsistent spacing that makes grout lines look uneven.
Grout: The Overlooked Variable
Most people forget that the backsplash is not just the tile; it is the grout in between. The more tiles you have, the more grout lines exist. If you choose a complex mosaic, you are committing to maintaining dozens of linear feet of grout. For homeowners who want to minimize cleaning, I always suggest larger format tiles. Fewer joints mean less surface area for grease to build up. Additionally, using epoxy or high-performance cement-based grouts can make a world of difference in preventing discoloration over time.
Sequencing and Installation Realities
We structure our projects so that the sequence of events is logical. Cabinets are ordered first, installed, then countertops are templated against installed cabinets. The backsplash is the final piece of that puzzle. It is installed after the countertops are secured, which ensures a clean, tight bead of caulk between the counter and the tile. This is critical for preventing water from migrating behind the backsplash and causing damage to the wall assembly.
Before you finalize your design, remember that permits are typically required for electrical, plumbing, and structural changes during your remodel. Coordinating your backsplash selection with these technical requirements early prevents delays. If you want a more in-depth look at how we manage these phases, our guide on Kitchen Planning & Design covers how to integrate these elements into your overall project scope.