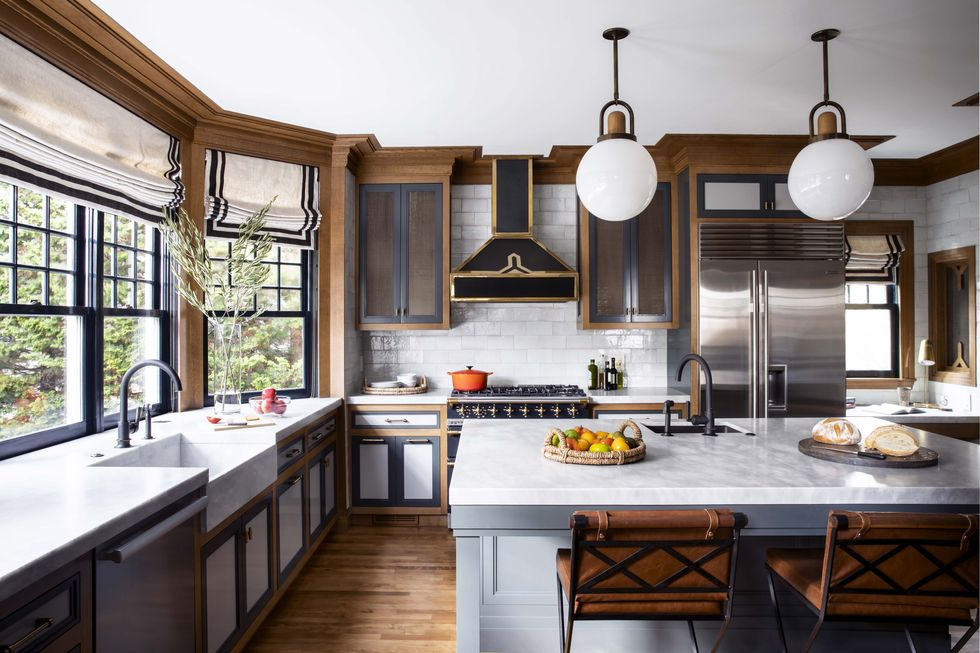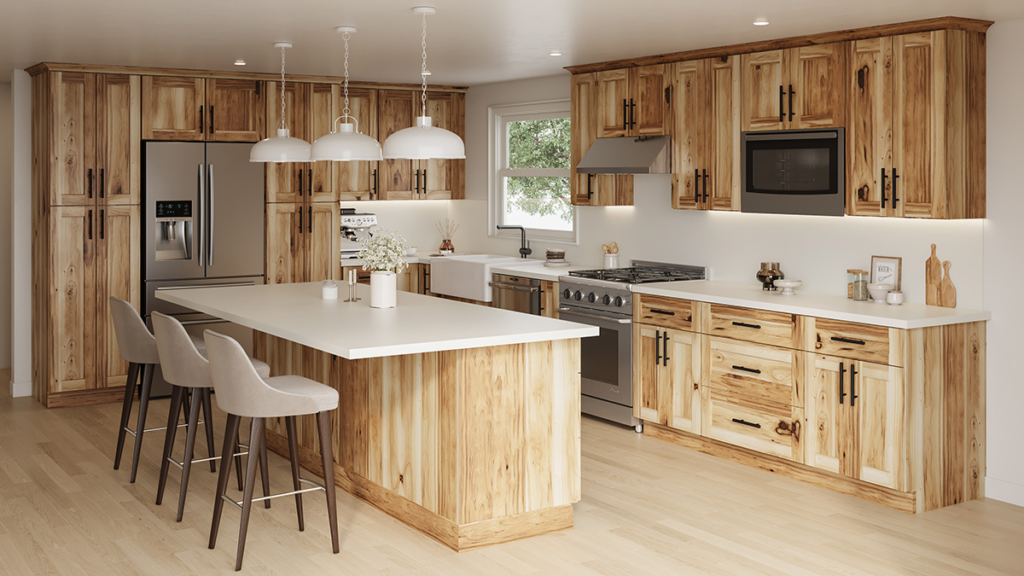
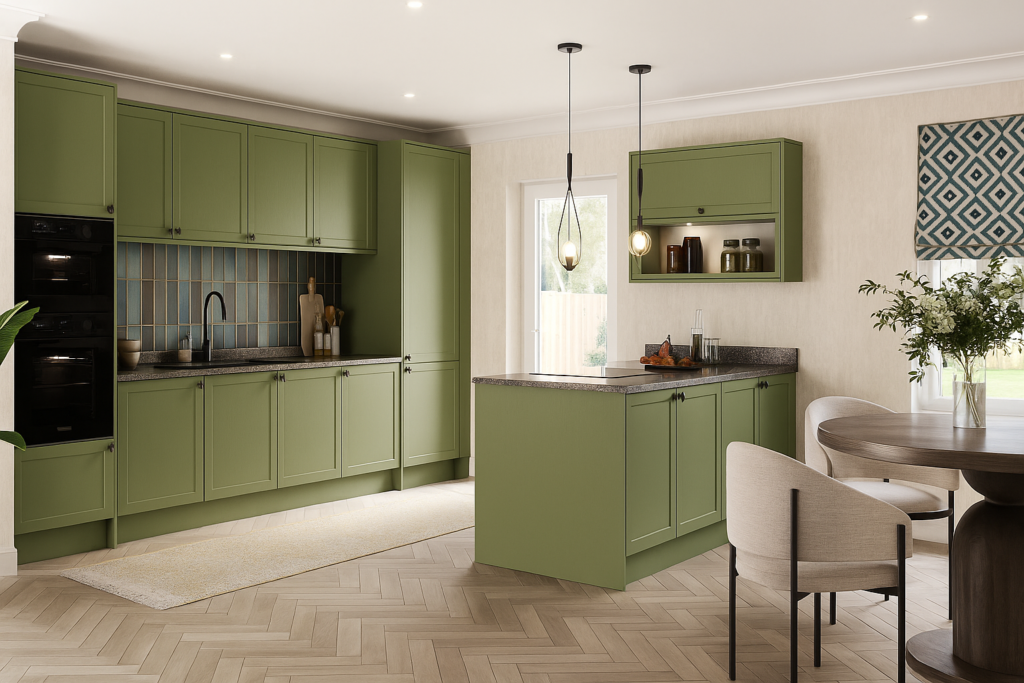
I’m standing in a kitchen in Broomfield right now with my tape measure out, looking at a footprint that hasn’t changed since the 70s. The homeowner is studying a magazine clipping of a massive island and a wall of floor-to-ceiling cabinets, asking if we can just “make it fit.” After 22 years as a contractor, I know the right cabinet layout isn’t about what looks good in a photo—it’s about how the room breathes when three people are trying to make dinner at the same time.
If you are planning a kitchen remodeling project in Broomfield, you must look past the door styles. You have to understand clearances, weight, and what’s happening behind the cabinet boxes. A beautiful mistake is still a mistake, and it often turns expensive once the stone is installed.
The Math Behind the Island
One thing I check immediately is the floor. Everyone wants a 10-foot island with 3cm quartzite, but very few think about point loads. A large island with double-stacked cabinets and stone can easily weigh over 1,500 pounds. That’s a massive amount of concentrated weight sitting on standard residential floor joists designed for a fraction of that load.
Before we even talk about cabinet placement, we look at the crawlspace or basement. If I see floor deflection or if the joists aren’t doubled up, we’re adding mid-span blocking before the first cabinet is set. If you don’t account for the weight of your layout, your floor will dip, your mitered edges will pop, and your stone countertops will eventually crack.
The ‘Binding’ Corner and Handle Collisions
This is where I see most DIY designs and big-box store layouts go sideways. In a corner, you can’t just butt two cabinets together and call it a day. Most professional-grade appliances and modern full-overlay cabinet doors require at least 2 to 3 inches of clearance from a corner.
I call it the “Hardware Collision.” If you use 2-inch projection handles without adding extra-wide fillers in the corners, your drawers will hit the handle of the adjacent cabinet. You won’t be able to open your silverware drawer more than halfway. Every time, I check for the relationship between the dishwasher handle and the oven door. If they are perpendicular in a corner, you need a substantial filler to allow those doors to swing past each other.
Contractor’s Notebook: Scribing to Reality
In older Colorado homes, I’ve never seen a wall that was actually plumb or flat. When you’re choosing your layout, you have to tackle the gaps. You have two real choices: scribe molding or an integrated filler.
Scribe molding is a thin, flexible strip of wood finished to match your new cabinetry. It covers gaps where the wall bows. However, for a cleaner, high-end look, I prefer to “scribe” the actual cabinet frame or a wide filler piece. We literally shave the wood to match the contour of your drywall. This approach is more labor-intensive but makes the cabinets look like they grew out of the wall rather than just sitting against it.
HDF vs. Plywood: The Stability Choice
If you’re planning on painted cabinets—especially white or light gray—the layout of the door matters as much as the room’s layout. I tell clients in Broomfield and Thornton the same thing: solid wood moves. It expands and contracts with our dry Colorado air.
When solid wood moves, it creates “witness lines” or cracks in the paint at the joints where the rails and stiles meet. High-Density Fiberboard (HDF) is often superior for painted doors because it is dimensionally stable. It doesn’t have a grain pattern and doesn’t move, ensuring your finish stays smooth for years. If you want the look of wood but the durability of a car finish, HDF is the way to go.
The Appliance Reveal Trap
If your layout includes paneled appliances—where the fridge or dishwasher looks like a cabinet—precision is everything. These require a “reveal,” which is the tiny 1/8-inch gap between the panel and the cabinet frame. If the cabinet carcass isn’t perfectly plumb and square, that panel will look crooked, or worse, it will rub and damage the finish every time you open the door.
If It Were My Kitchen
I’d look at three specific things before signing off on a layout: 1. The Light Rail: Most people forget this. If you’re doing under-cabinet lighting, you need a decorative molding at the bottom to hide the wires. Without it, your guests sitting at the island will be facing a mess of LED strips and staples. 2. The Fridge Wall: If a fridge goes against a wall, you need a 3-inch filler. If you don’t, the door won’t open past 90 degrees, and you’ll struggle to pull the crisper drawers out to clean them. 3. Heat and Steam Zones: Don’t put high-end painted uppers directly above a toaster or kettle. I’ve seen enough delaminated edge banding and scorched paint to know steam is a cabinet’s worst enemy.
Final Thoughts
Don’t let a pretty drawing convince you into a layout that doesn’t work. You’re building a workspace, not a showroom. Ensure you have the clearance for your handles, the support for your stone, and the right materials for the climate. If the math doesn’t work with the tape measure, it won’t work in your life. When we sit down to look at your Arvada cabinetry options, we start with the floor and walls, and work our way out from there.